Simulate UI Scenarios For Front-End Development
Set up front-end application to switch between different UI states. Simulate all possible scenarios using a fake API server.
Table of Contents
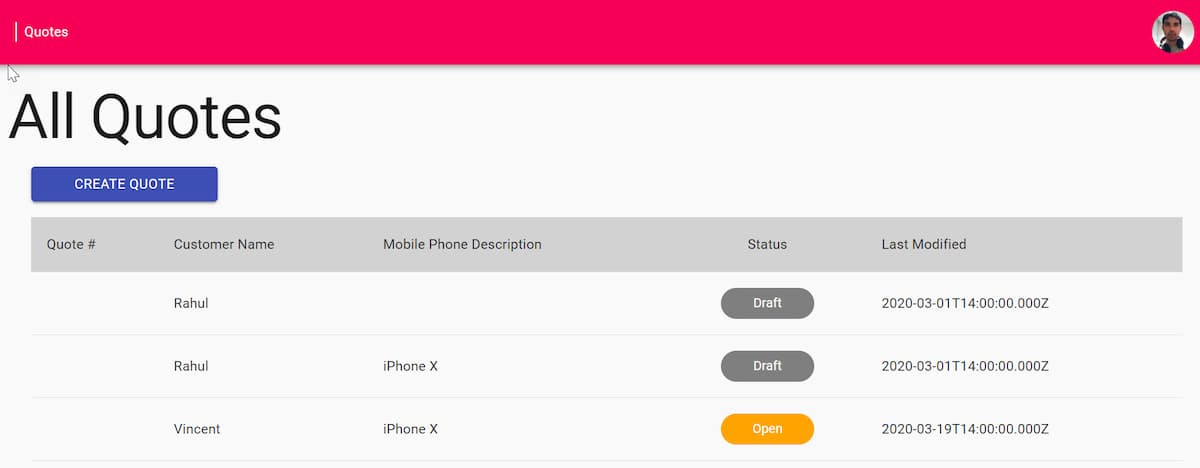
In a previous post, Simulating Different Scenarios Using Fake JSON Server API, I showed how to set up a fake API to return data based on different UI state. E.g., Given a UI list view, the application can be in different states. It can show an empty list, a list of data, a list of data that does not fit in one page, a server error, etc.
In this post, let us look at how to set up the Front-end application to switch between these different states. We will see how to define scenarios, switch between them, and pass it to the API for every request.
Pass Scenarios to API
Scenarios are determined based on the 'scenarios' header (choose a different name if you like) from the HTTP Request. To inject this header, we need to be able to intercept the API requests. I usually prefer to have all API requests to be under a single folder and use an abstraction over the HTTP library of choice. Most HTTP libraries, provide extension points to intercept requests before sending them. Use these interception points, to inject scenarios into HTTP request header.
Below I use Axios, a promise-based HTTP client to make requests to API. Using the Interceptors feature of Axios, I inject the scenarios header for each request. It uses a getSelectedScenario helper function to get the currently selected scenario to simulate.
// http.ts
const http = axios.create();

if (process.env.NODE_ENV === "development") {
  http.interceptors.request.use(
    async (request) => {
      const selectedScenario = getSelectedScenario();
      request.headers["scenarios"] = selectedScenario
        ? selectedScenario.scenarios.join(" ")
        : "";
      return request;
    },
    (error) => Promise.reject(error)
  );
}

export default http;
When making requests to the API, use the exported http instance as shown below. All HTTP requests flow through the interceptors and will have the scenarios header injected.
// quotes.api.ts
import http from "./http";

export async function loadAllQuotes(): Promise<QuoteSummaryDto[]> {
  const response = await http.get<QuoteSummaryDto[]>("/api/quotes");
  return response.data;
}
Define and Manage Scenarios
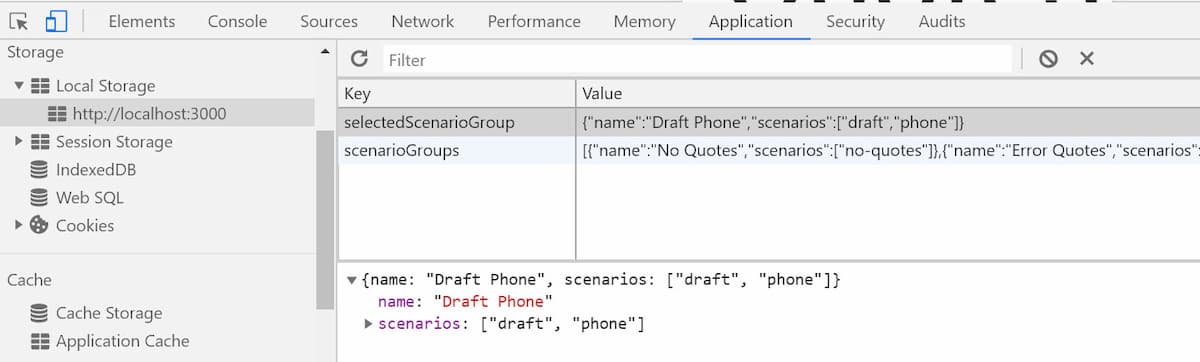
The getSelectedScenario helper function retrieves header from the storage of your choice. It can be in memory, local storage, shared JSON file, etc. Local Storage is my personal choice, as it allows me to persist the interested values across browser sessions and integrates with browser developer tools.
The selectedScenarioGroup in local storage determines the current list of scenario headers to send to the fake API server. We can change the list of scenarios by modifying the values for this key in the local storage.
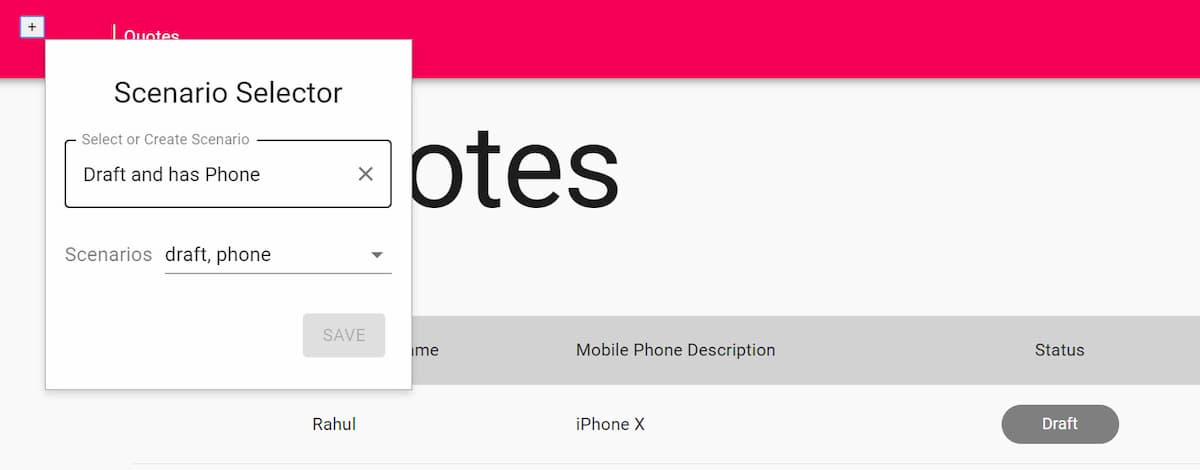
To make changing and defining scenarios interactive, I created a small form that plugs into the UI. The '+' icon shown below, shows during development and expands out to a Sceanrio Form Builder. The form allows to add new scenario groups by adding in a name and selecting the associated scenarios. It saves the scenario groups to local storage as 'scenarioGroups'. With the scenario form builder, I can easily define new scenarios from the UI and start developing against those cases.

As you develop new features, the new scenarios can be added along with the source code to make it is available across the team. Every time the app starts, it will merge the scenarios in source code with the ones existing in the local storage. By being able to simulate different scenarios, front-end development becomes more seamless when used along with JSON Server fake API. The scenarios make it possible to simulate all edge case scenarios and develop for them. These scenarios also helps in setting up data when writing tests
I hope this makes your front-end development more enjoyable!

Rahul Nath Newsletter
Join the newsletter to receive the latest updates in your inbox.
