Build AWS Step Functions in Visual Studio Code: Create, Visualize, and Deploy Workflows
Learn how to build AWS Step Functions workflows directly in Visual Studio Code using the AWS Toolkit. Create workflows, visualize them as you edit, fix errors in real-time, and deploy to AWS without leaving your editor.
Today, let's see how to build Step Functions workflows right inside Visual Studio Code.
With the AWS Toolkit, you can create workflows, visualize them as you edit, catch errors immediately, and deploy to AWS — all without leaving VS Code.
This article is sponsored by AWS and is part of my AWS Series.
Installing AWS Toolkit for Visual Studio Code
First, install the AWS Toolkit extension for VS Code.
Once installed, you'll need to connect the toolkit to your AWS account to deploy workflows.
Navigate to the AWS icon in the sidebar and follow the connection wizard. If you don't have an AWS account, create a free tier account to try this out.
Creating Your First AWS Step Functions in VS Code
Let's create a new Step Functions workflow.
Navigate to a folder in VS Code where you want to store your workflow files.
Open the Command Palette (Ctrl+Shift+P) and search for Step Functions. Select AWS: Create a new Step Functions state machine.
The toolkit provides starter templates to get you going. Let's choose the Wait state template and use JSON as the language.
Understanding the Amazon Stattes Language File
VS Code creates a file with the Amazon States Language (ASL) definition:
{"Comment": "A simple minimal example of the States language","StartAt": "Wait","States": {"Wait": {"Type": "Wait","Seconds": 10,"Next": "WaitUsingTimestamp"},"WaitUsingTimestamp": {"Type": "Wait","Timestamp": "2025-03-25T00:00:00Z","End": true}}}
This is the same ASL you see in the AWS Console when viewing the Code tab of a workflow.
AWS Step Functions: Getting Started with Workflows and States

You can edit the JSON directly with IntelliSense support. Press Ctrl+Space to see available options. Let's add a Pass state:
VS Code highlights syntax errors immediately if you forget a comma or have invalid JSON. IntelliSense also works within each state, showing you all available properties.
Opening the Visual Workflow Editor
Building workflows entirely in JSON is error-prone and hard to visualize.
Look for the workflow icon in the top-right corner of the editor. Click it to Open with Workflow Studio.
This opens the exact same visual builder you see in the AWS Console!
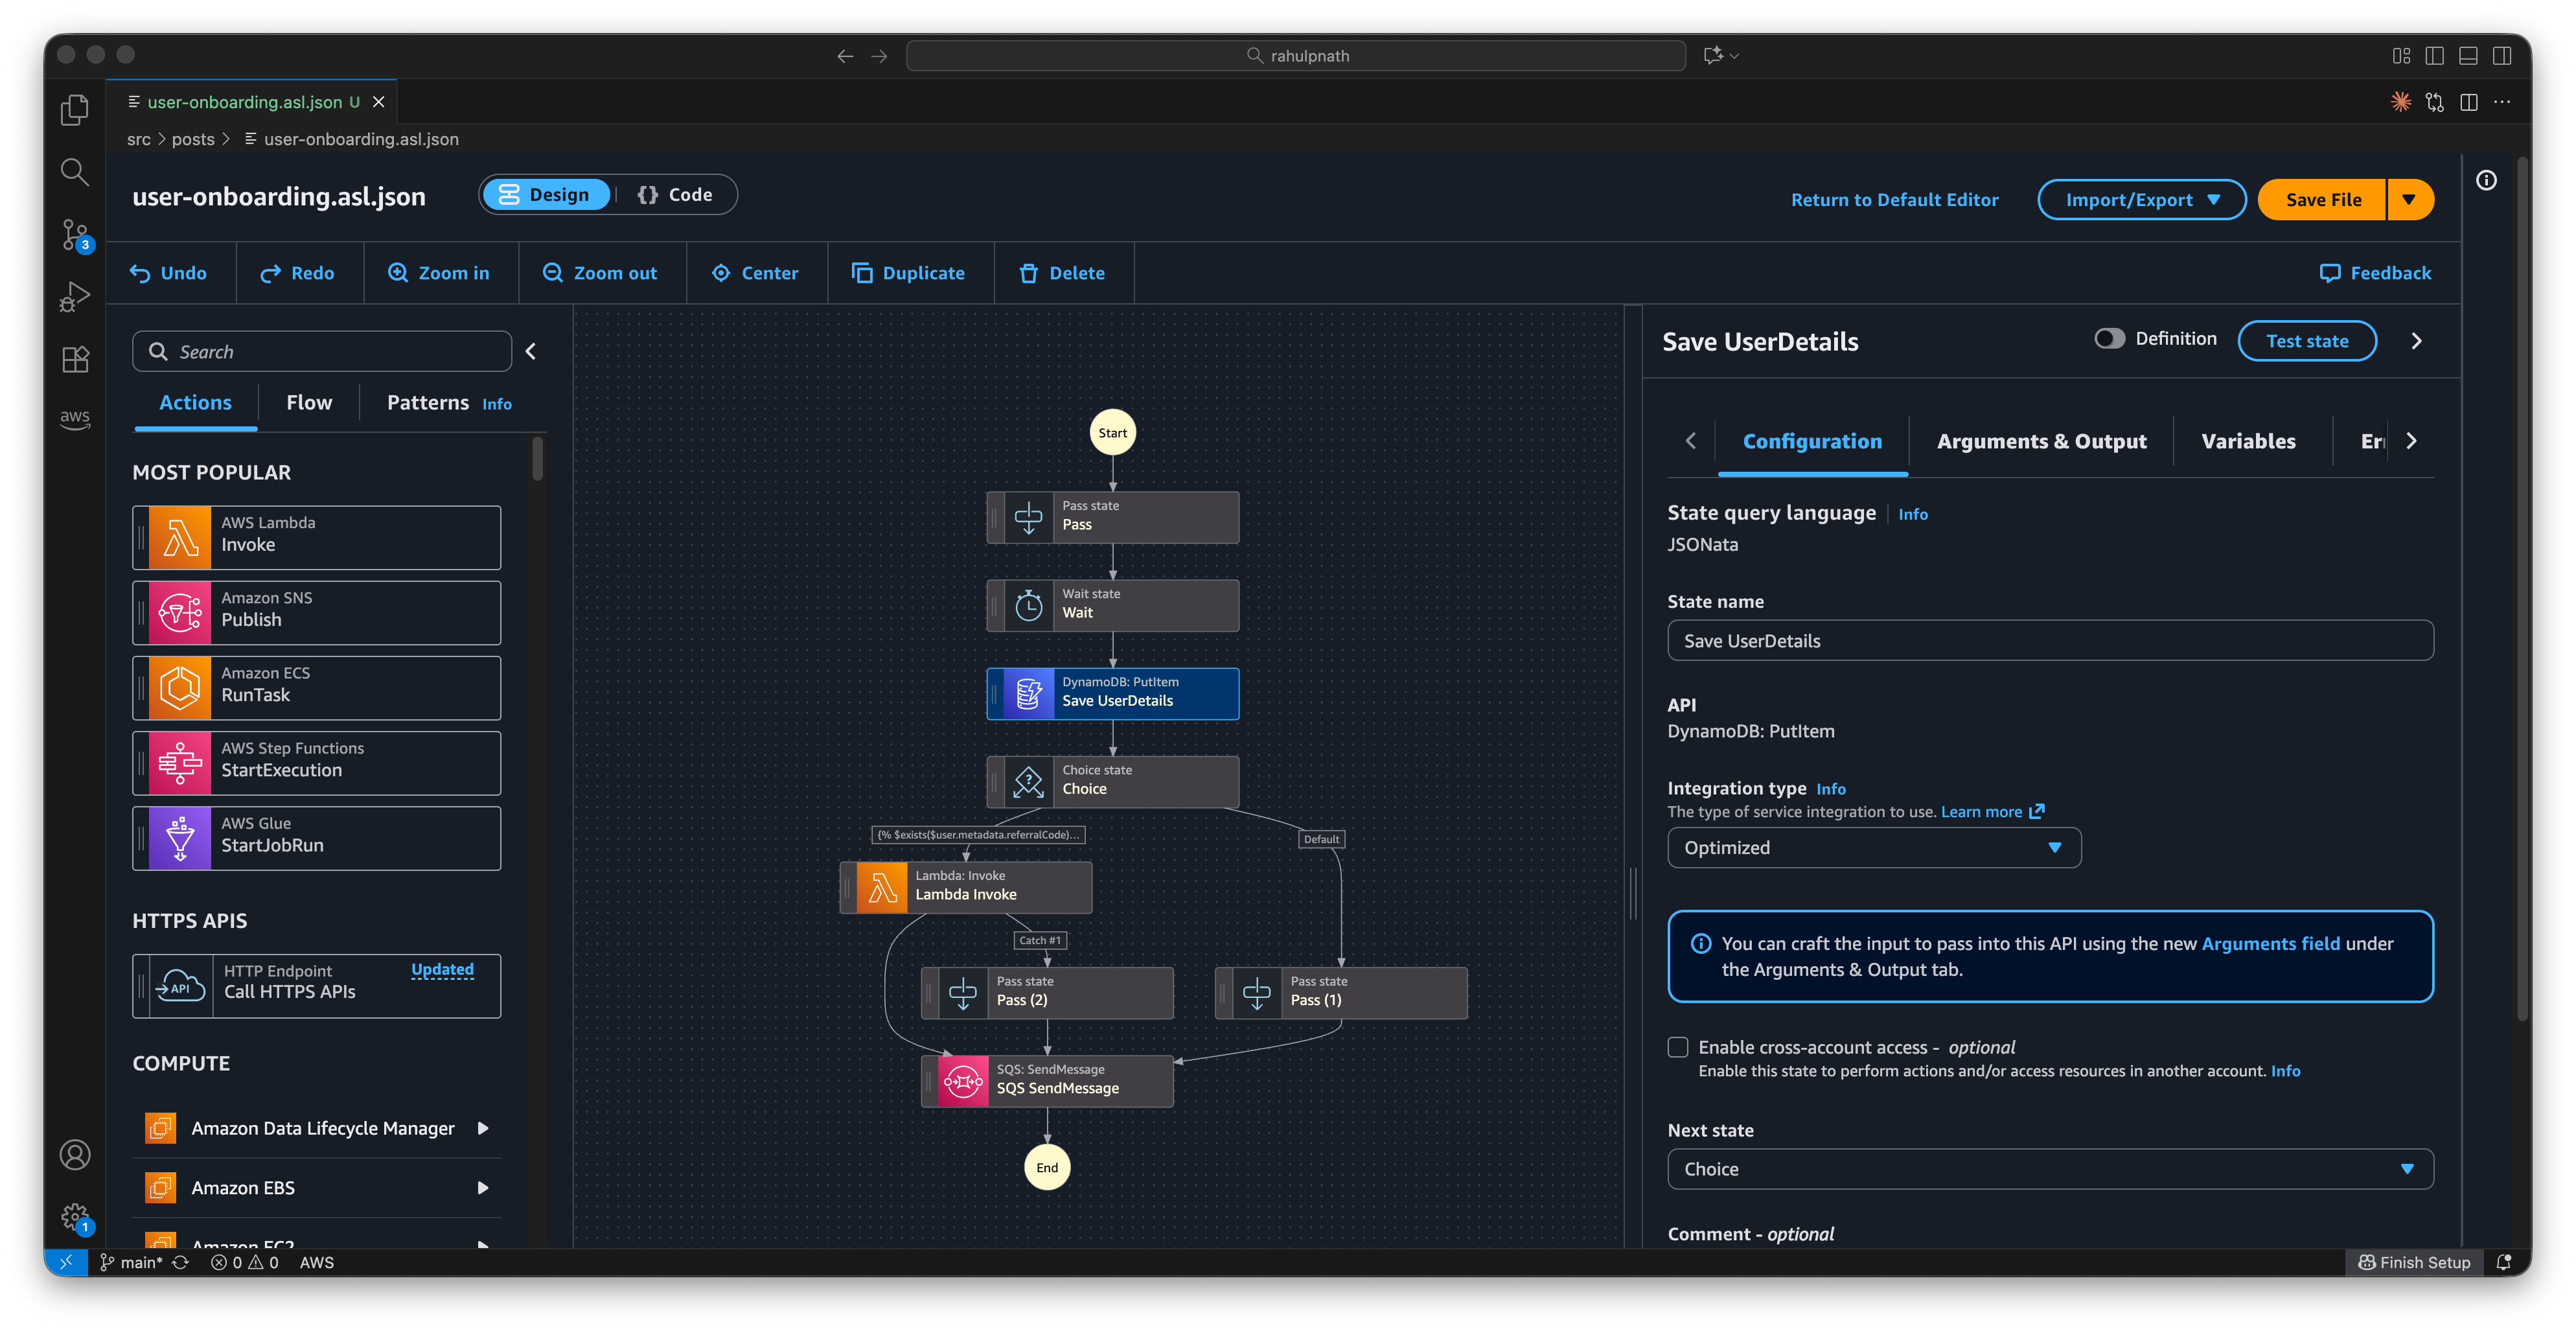
You can now:
- See the workflow visually
- Drag and drop states
- Edit state properties
- Automatically update the JSON
Select any state to edit its properties in the right panel. Drag states to reorder them or insert new ones.
Click Save file when you're done editing.
The first time you save, it prompts for a filename. Let's call it sample-workflow. Notice the file extension: sample-workflow.asl.json
The
.aslextension tells VS Code to open the visual editor automatically.
The visual editor shows validation errors. If you see error icons, click them to see what's wrong.
Deploying from Visual Studio Code
Once you've finished creating your workflow, you can deploy it directly to AWS.
Make sure you have:
- AWS Toolkit connected to your account
- IAM role with permissions for the services your workflow uses
AWS Step Functions and AWS Service Integrations

Open your .asl.json file and look for the deploy icon next to the save button.
Click Save and Deploy.
The toolkit prompts you for:
- Region: Where to deploy (e.g.,
ap-southeast-2) - Create or Update: Choose Create for a new workflow
- IAM Role: Select an existing role with permissions
- Workflow Name: Give it a name (e.g.,
user-onboarding-vscode)
The toolkit deploys your workflow to AWS.
The toolkit deploys your workflow to AWS. You can later update it by choosing update instead of Create when deploying.
Working with JSON vs Visual Editor
The VS Code extension gives you flexibility to work with both JSON and the visual editor.
Use the Visual Editor for creating workflows from scratch and quick prototyping with drag-and-drop. Use JSON for fine-grained control, version control diffs, and working with AI coding agents.
To switch to JSON view, click the code icon in the top-right corner.
This shows the raw ASL JSON file. Changes you make update the visual editor when you save.
If you're using AI coding assistants (like GitHub Copilot or Claude), working with JSON makes it easier for AI to understand and modify workflows.
For manual workflow creation, I prefer the visual editor. But for AI-assisted development, JSON works best.